This post covers the process for running the vRealize Operations Pre Upgrade Readiness Assessment Tool and upgrading vRealize Operations without using Lifecycle Manager. I was running 8.1 and have upgraded to 8.5.
The next time I complete a vROps version upgrade, I’ll use Lifecycle Manager and post again with that process.
The main steps in the process are:
- Run the Pre Upgrade Readiness Assessment Tool which will provide a report and recommendations for anything that will be affected in your current environment by applying the upgrade
- Take Offline snapshots of the Nodes to ensure there is a clean state to revert back to in case of any issues during or shortly after the upgrade
- Apply the upgrade and get all the latest enhancements for vRealize Operations
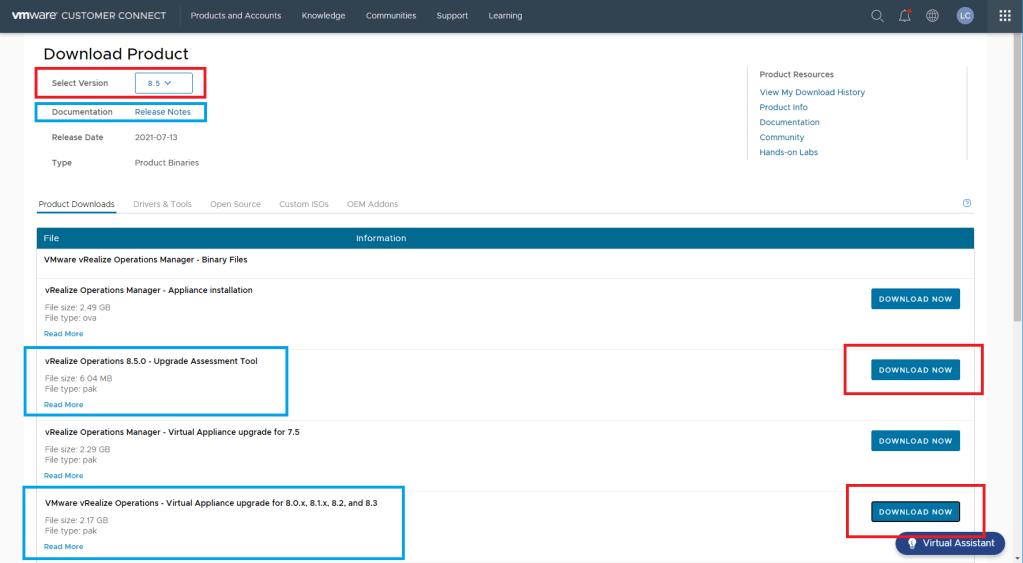
Log in to Customer Connect > Navigate to vRealize Operations Product > Select your required version > Download the files for both the Pre Assessment Tool and Upgrade
Log in to admin interface which is your usual vROps URL followed by /admin. I always like to make a note of the Roles assigned to each Node. This is also needed to ensure you’re powering the Nodes off and on in the correct order before taking snapshots later in this process

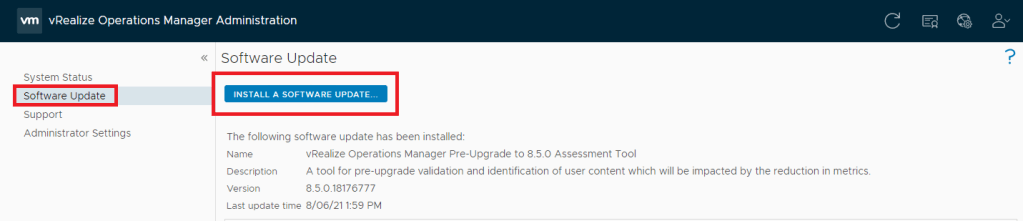
Select Software Update on the left menu > Click Install a software update
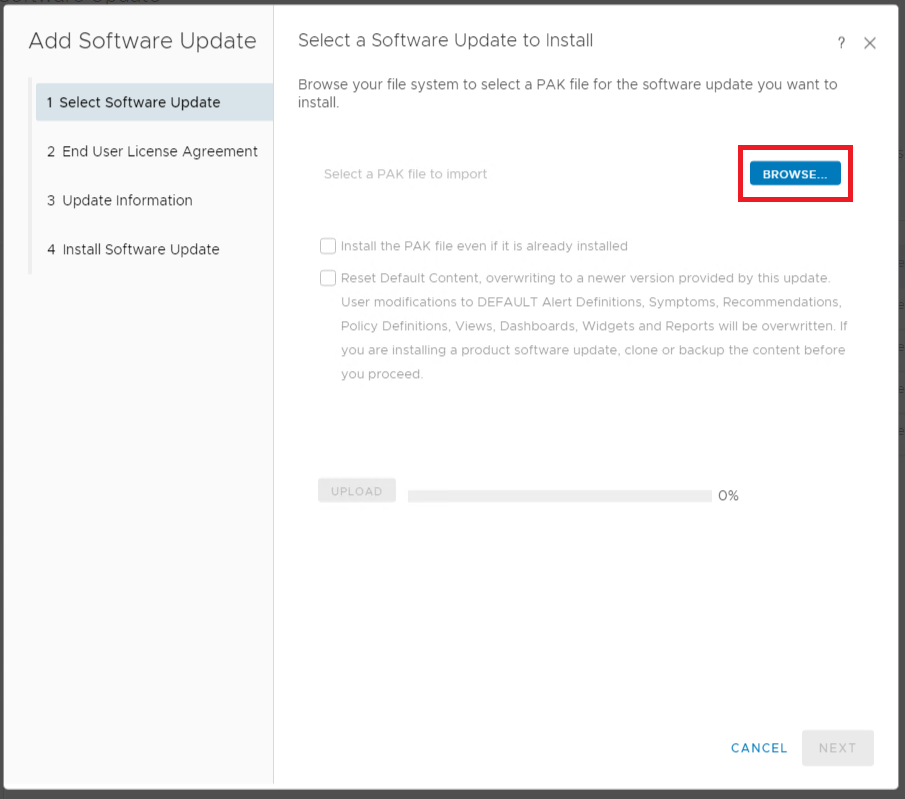
Select Browse > Select the Pre Upgrade Readiness Assessment Tool which was downloaded from Customer Connect
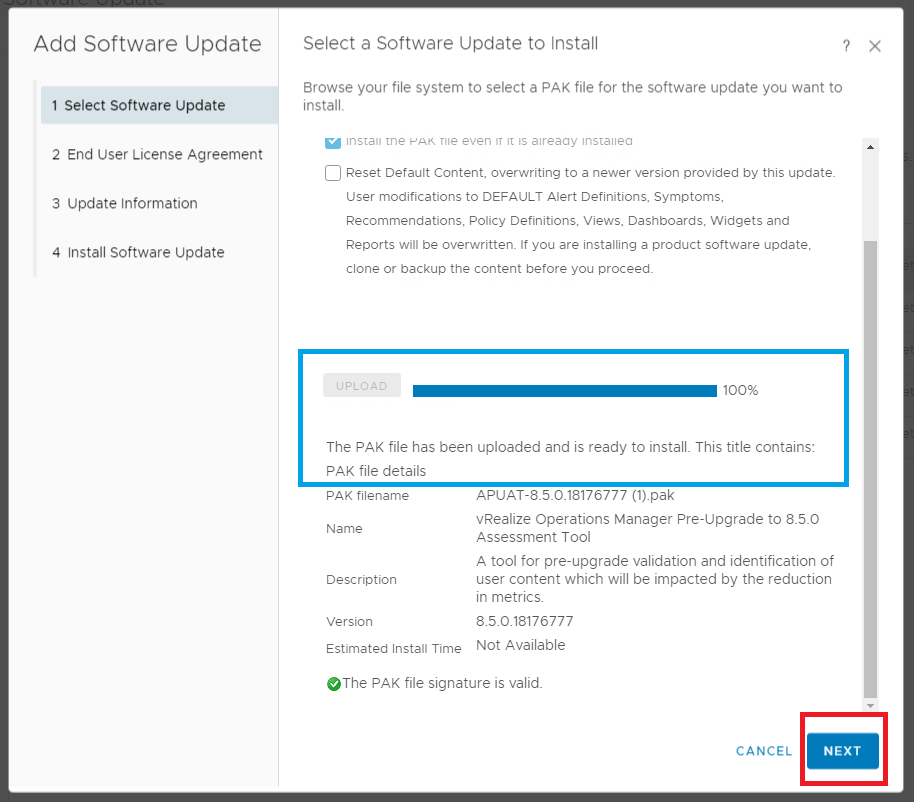
Confirm the Tool PAK file uploads successfully > Click Next
Read (make sure you do it 😉) and Accept the EULA by checking the box > Click Next

Read the important update and release information (this one is actually interesting and important information) > Click Next
This version explains the Pre Upgrade Assessment Tool is a Read Only and non evasive tool to provide a report for your current environment

Click Next
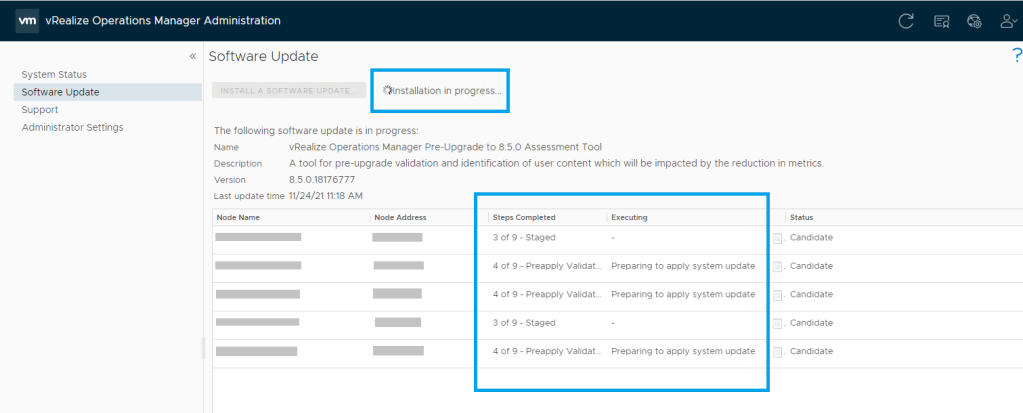
The Software Update Tab will now show the overall progress at the top and more granular information for each node below as show in this screenshot
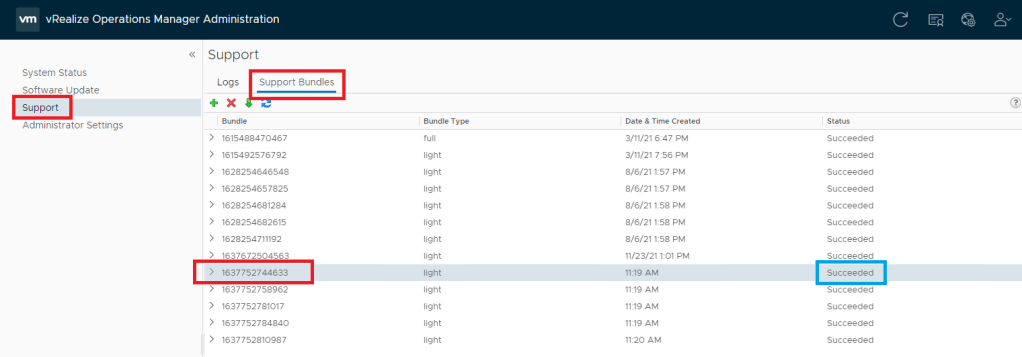
Once the Tool install is complete, Select Support from the left menu > Select the Support Bundles Tab > Find the latest successful Bundle which can be found by looking at the Created Date & Time > Download
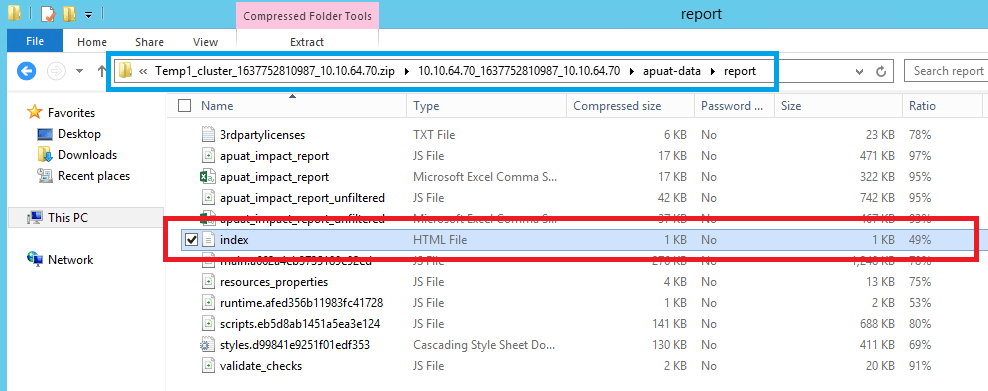
Navigate to the downloaded folder > apaut-data > report > Open the index HTML file
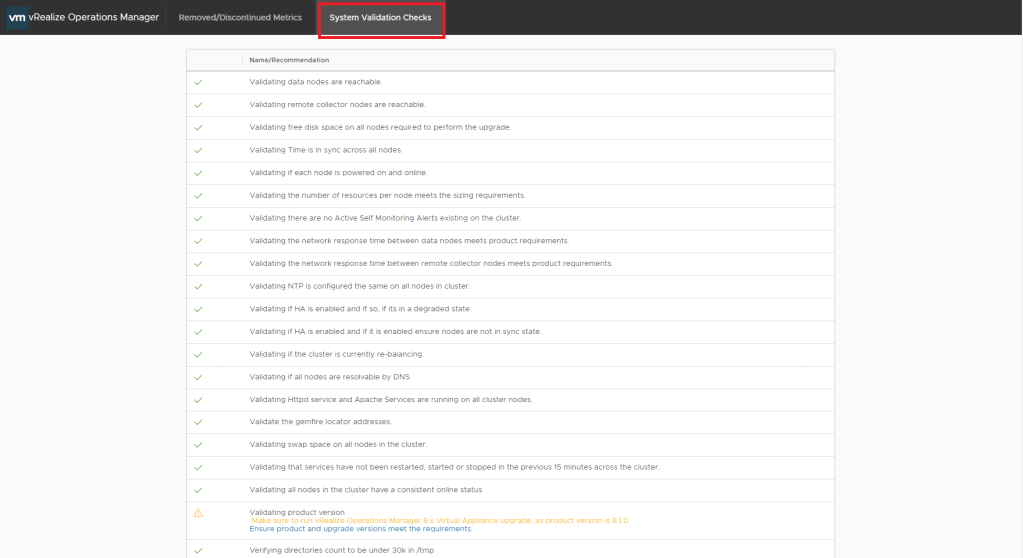
This will open a web page with the Assessment report. Select System Validation Checks if it hasn’t done so already
Assess all the information and ensure there is nothing that will prevent you from completing the upgrade. The Tool will provide recommendations for anything which should be remediated before you proceed
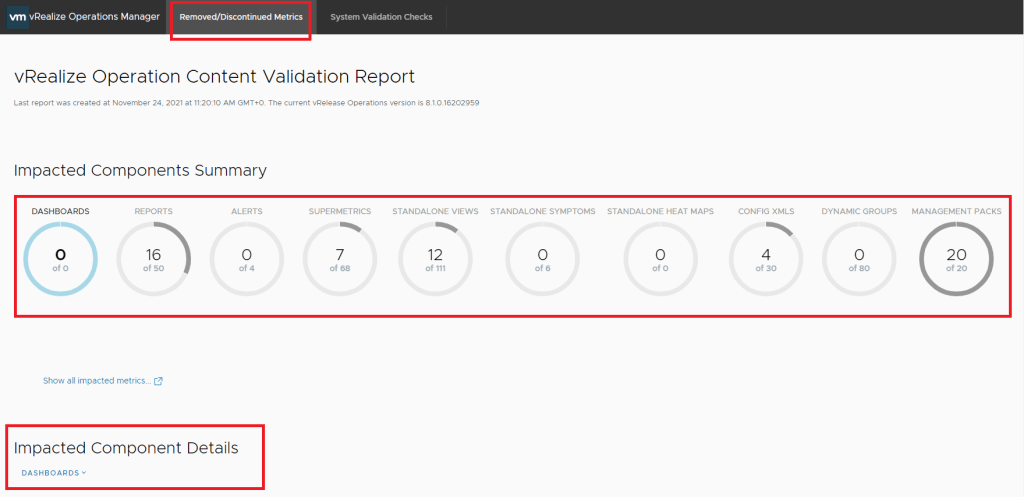
Select Removed/Discontinued Metrics
This report is extremely useful as it informs you of anything going to be impacted by applying the latest update.
Select each section of the report, assess the information and ensure you only proceed once you’re happy with what’s being changed and what’s going to be impacted by applying the update.
Once happy with the information provided in the Pre Upgrade Assessment Tool, we are ready to being the actual upgrade phase
First we should take Offline snapshots for a clean restore point. This step has saved me a few times during failed upgrade attempts!
Navigate back to the admin interface which is your usual vROps URL followed by /admin
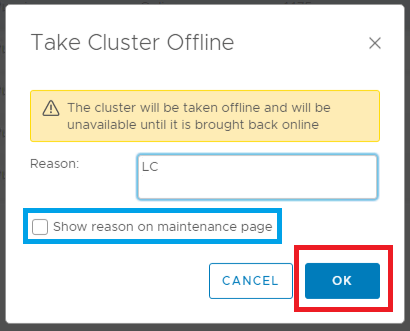
Select Take Cluster Offline

Give a reason for taking the cluster offline and you have the option to display this on a maintenance web page > Click OK
Monitor the individual Node State and Status and the Cluster Status until the Cluster is Offline

Once the Cluster is Offline, the Nodes need to be powered off in a specific order:-
- Remote Collector/s
- Data
- Master Replica
- Master
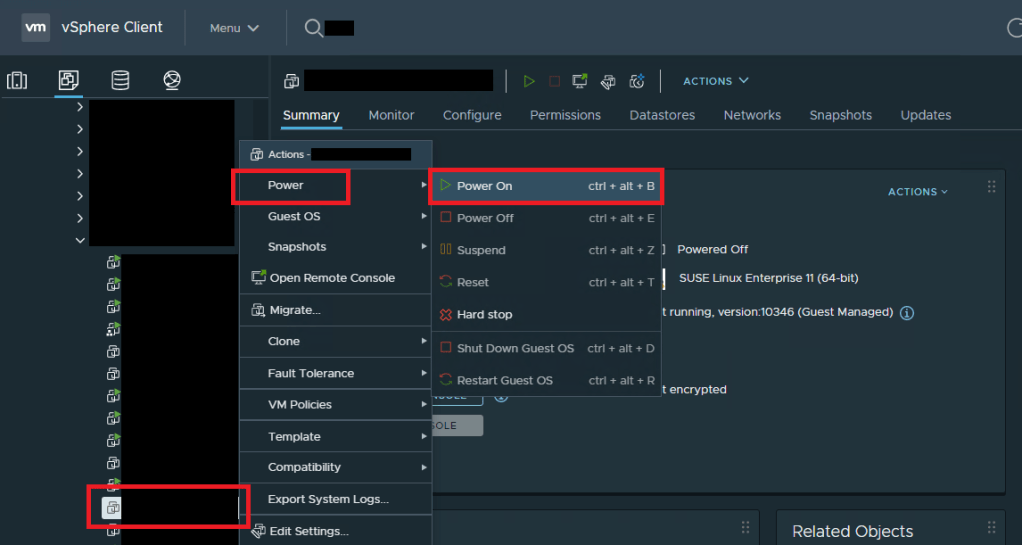
Open the vSphere Client > Navigate to the required Node > Right Click the VM > Select Power > Select Shut Down Guest OS
Complete this step for all of the Nodes in the correct order shown above

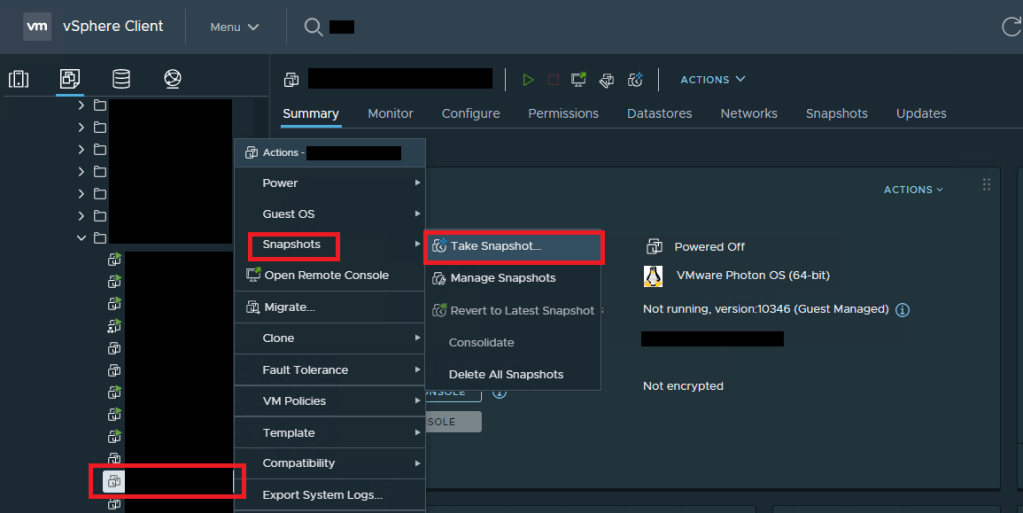
Take a powered off snapshot of each Node. Ensure this is completed for every Node
Right Click the VM > Select Snapshots > Select Take a Snapshot. Repeat for each Node.
The Nodes now need to be powered on in the correct order which is the opposite of the order they were powered off:-
- Master
- Master Replica
- Data
- Remote Collector/s
Right click the VM > Select Power > Select Power On
Once the VMs are powered on and the appliances are running, we’re now ready to start the upgrade
Navigate back to the Admin Interface at the /admin URL and select Software Update > Select Install a software update
Click Browse > Select the upgrade PAK file you downloaded from Customer Connect

You can check the box to Reset Default Content as this ensures all of the latest functionally in Alert Definitions, Symptoms, Recommendations etc are being used on the Default Content.
Note: This will usually be applied anyway and why you should never edit any default content in vROps. Ensure you’re creating a Copy of content and editing that instance to ensure there is no loss of data and settings

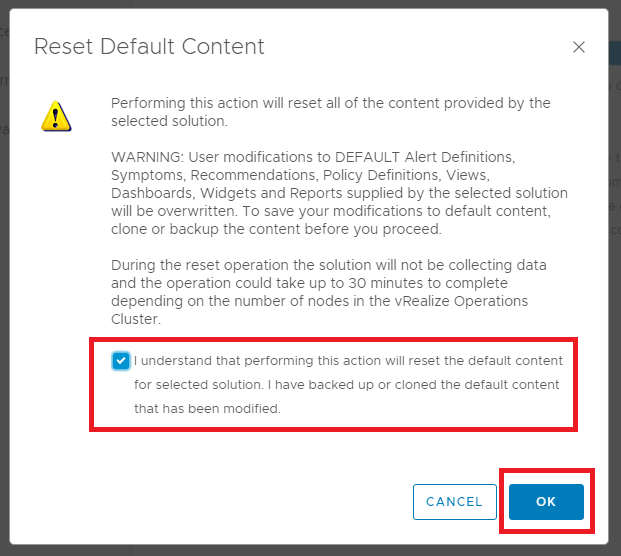
Now you understand that this content will be reset and updated, Check the box to confirm > Click OK
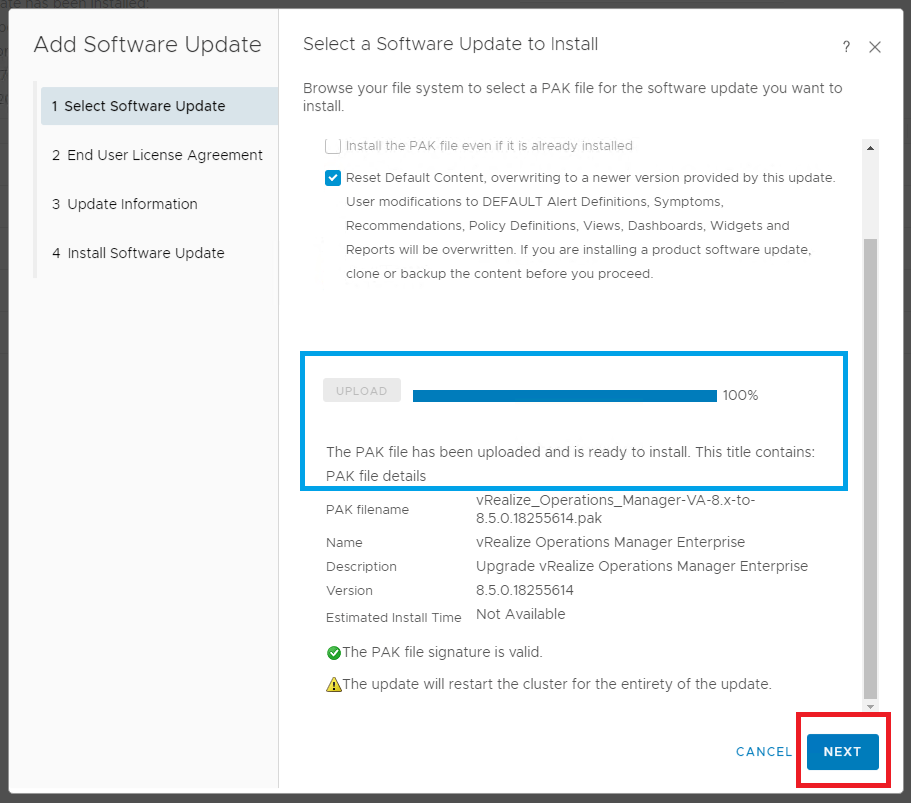
Click Upload

Monitor and confirm the upload completed successfully > Click Next
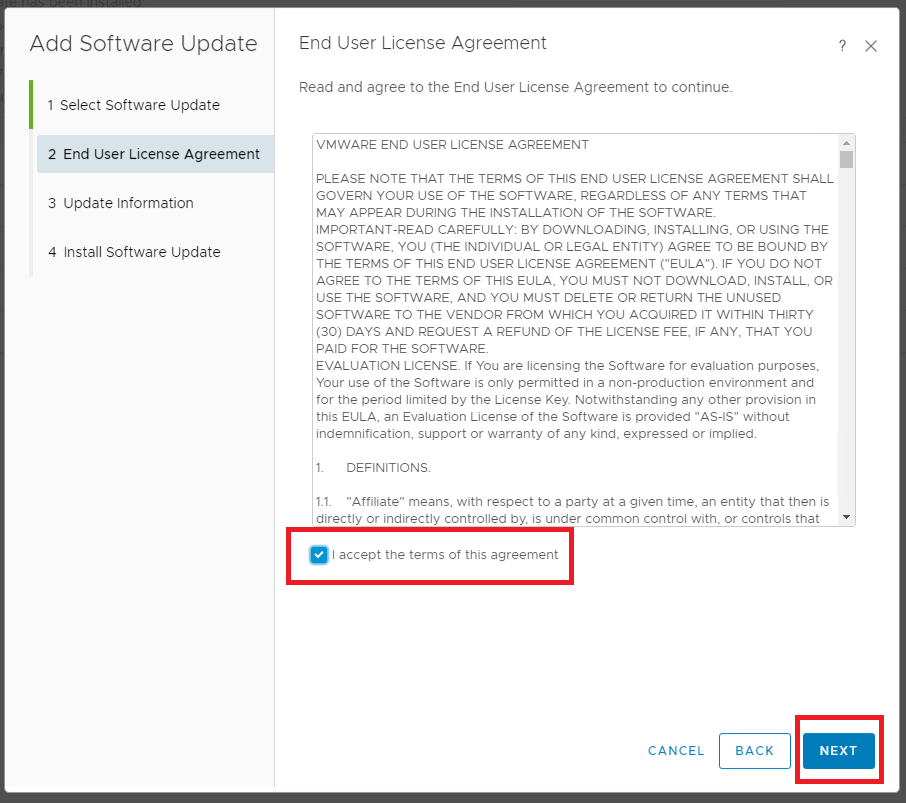
Check the box to accept the EULA > Click Next
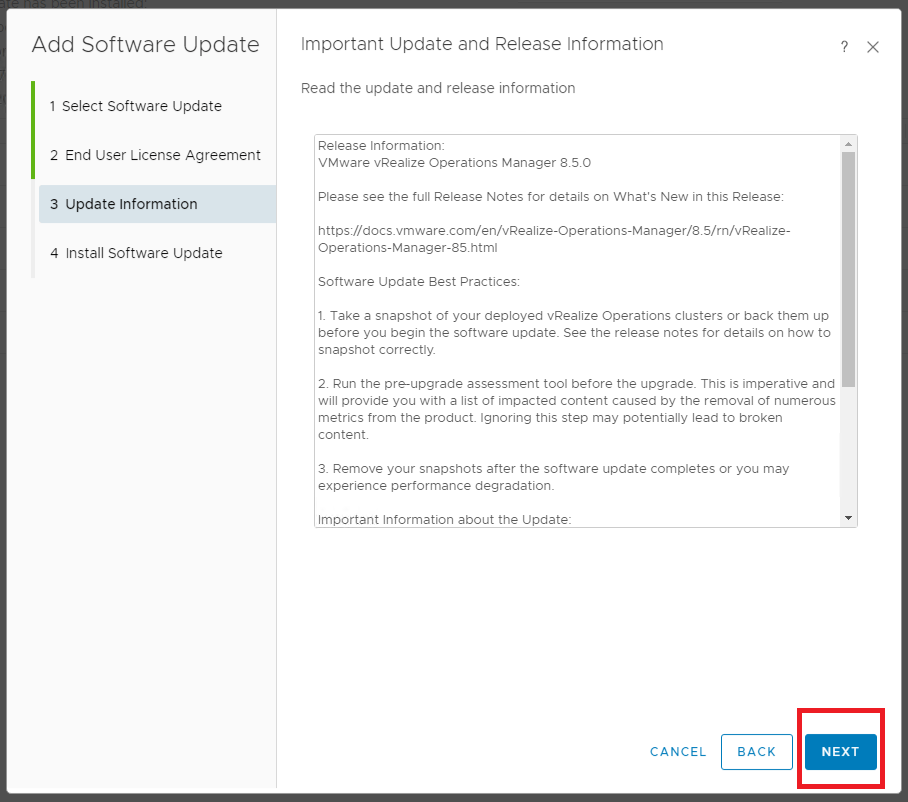
Read the update and release information which will contain some more important and interesting information
Once complete and you’re happy with the information, Click Next
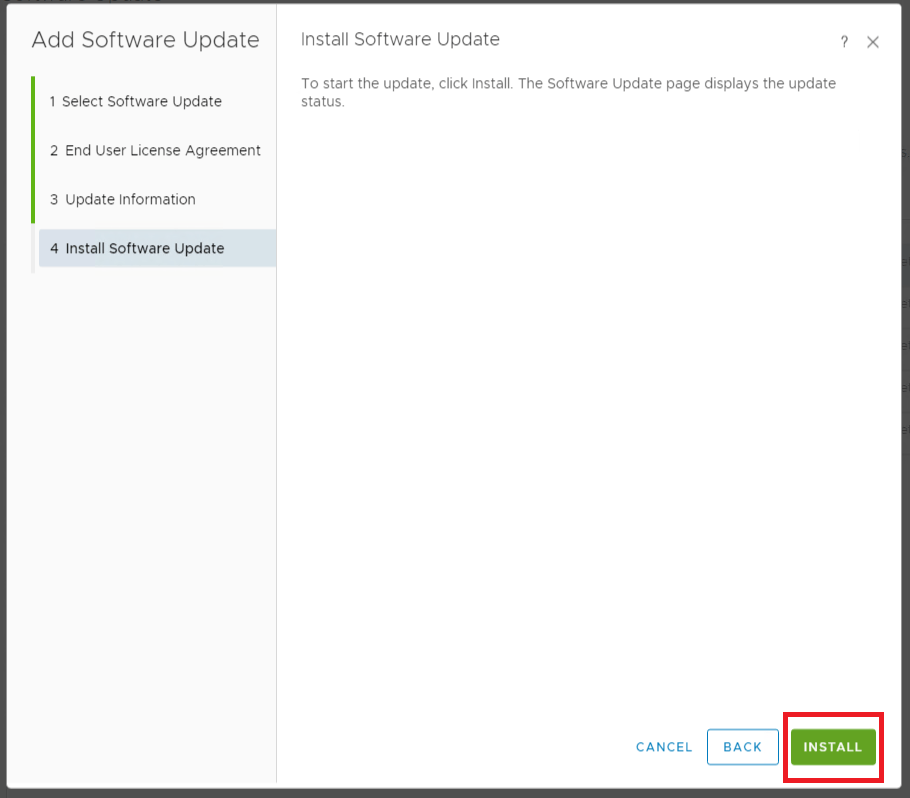
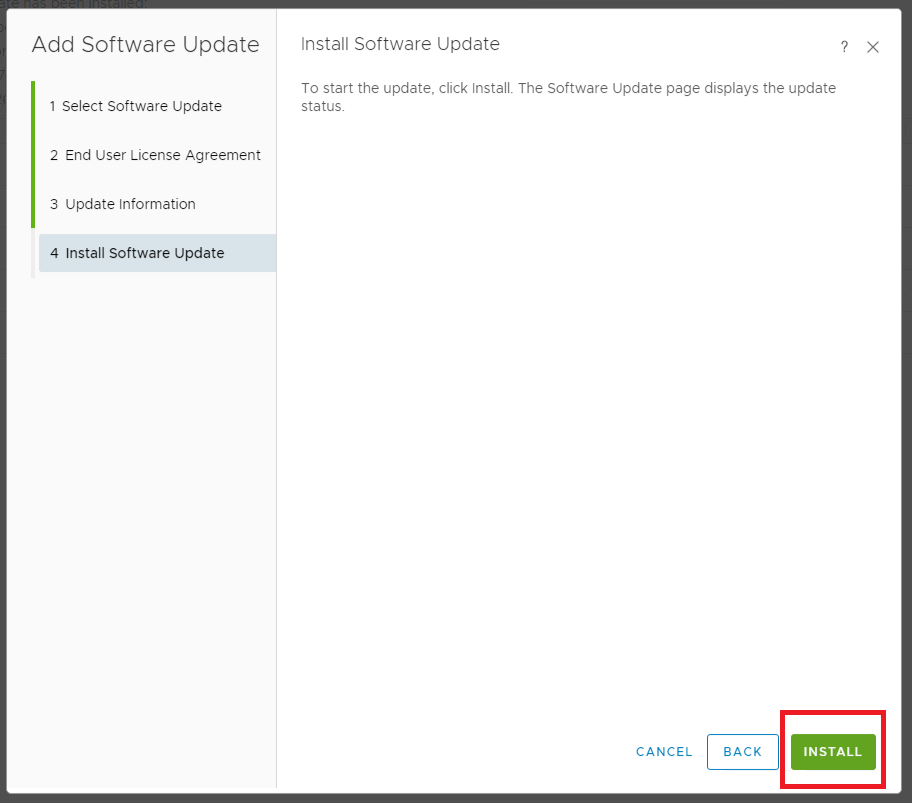
Click Install
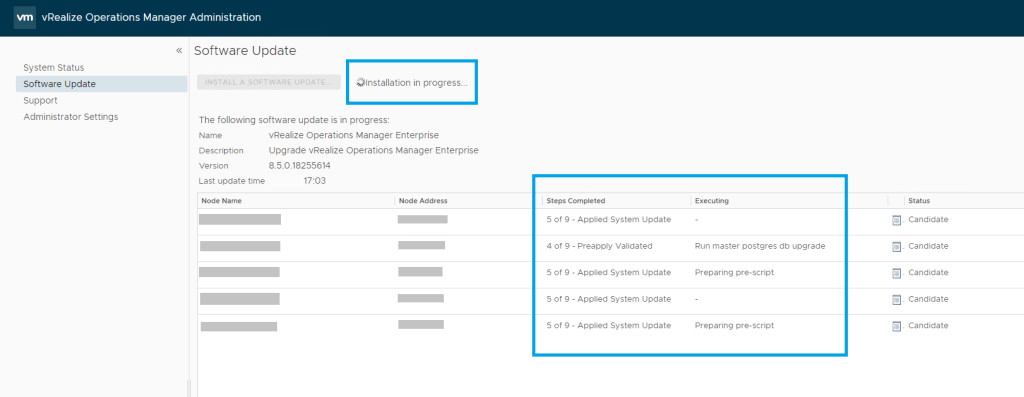
Monitor the progress during the upgrade from the GUI, you’ll receive updates on the Steps Completed and what is currently being executed
As long as the upgrade progresses as expected, you’ll be logged out and be required to log back in to vROps where you’ll find your cluster online and running the latest and sweetest version.
Note: Remove any snapshots you took as soon as possible and when you’re happy with the state of your newly updated cluster
