Larger environments may require more Nodes in your Aria Operations Cluster. A Cluster can contain one primary node and one or more data nodes for additional data collection, storage, processing, and analysis.
Note: You’ll need to download the correct Node OVA from the Broadcom software portal and save it in a location you can access for this deployment.
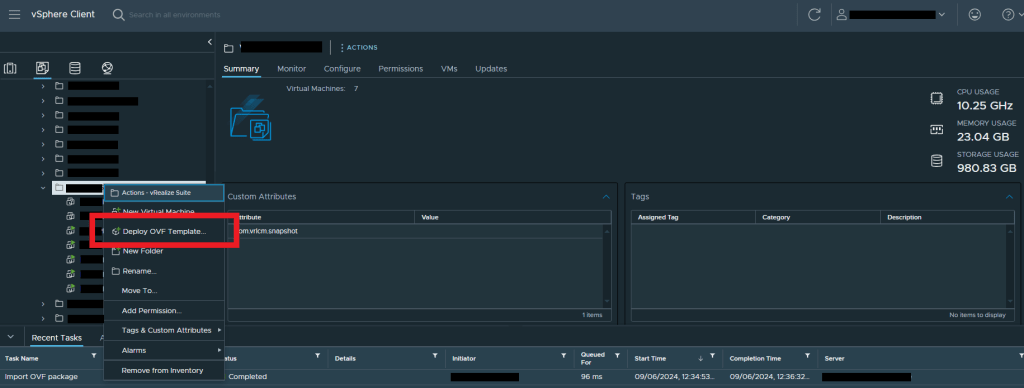
Right click on the vSphere folder you want to deploy thee new Node to > Select Deploy OVF Template
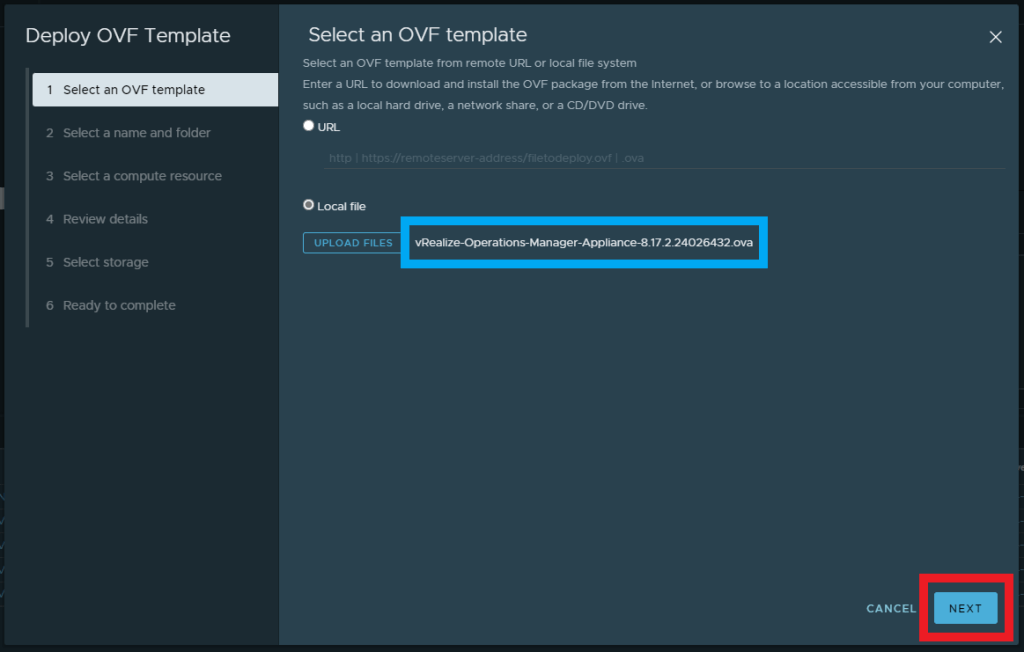
Check the Local File radio button > Click Upload Files which will open your file browser

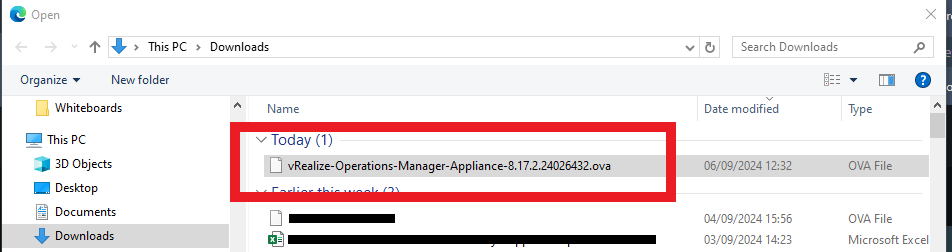
Select the Aria Operations Node OVA file from wherever you have it saved > Click OK
Confirm the File is added > Click Next
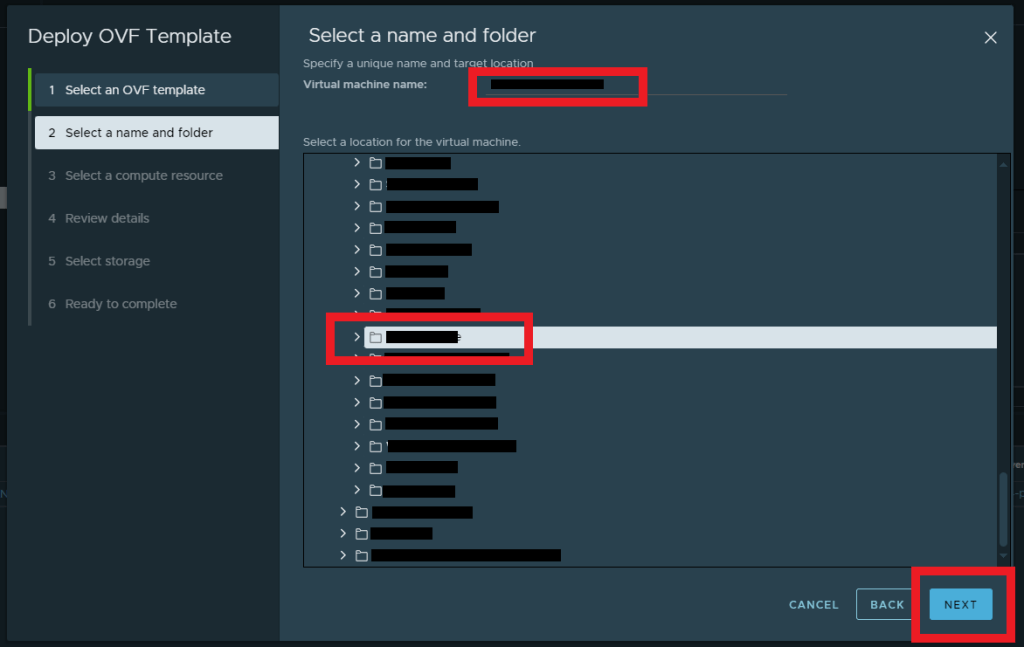
Enter a name for the appliance > Select the Folder > Click Next
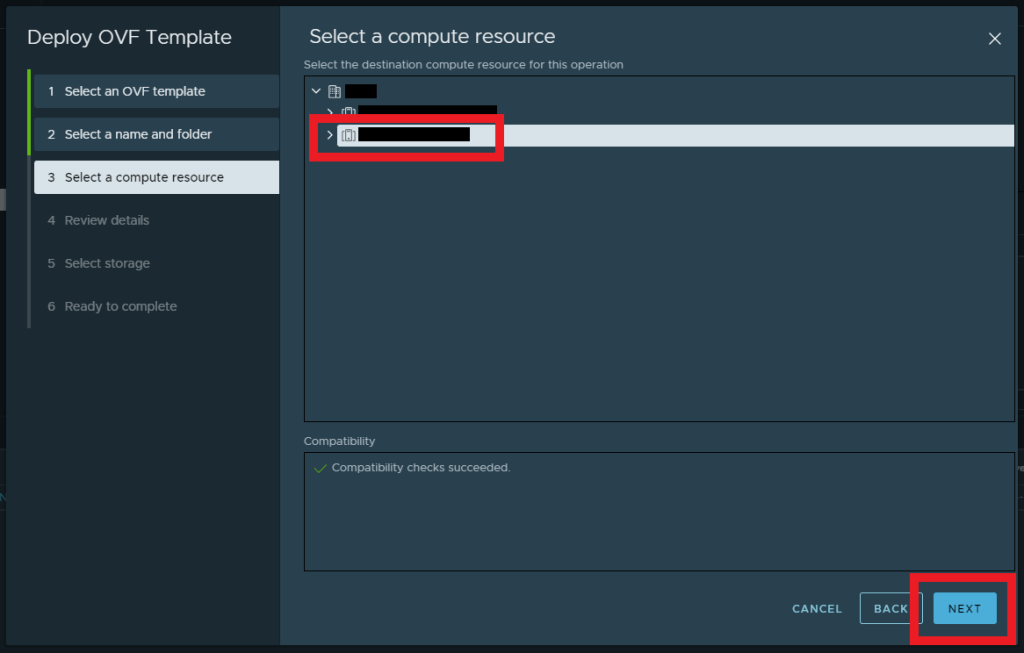
Select the vSphere Cluster you want to run this VM on > Click Next
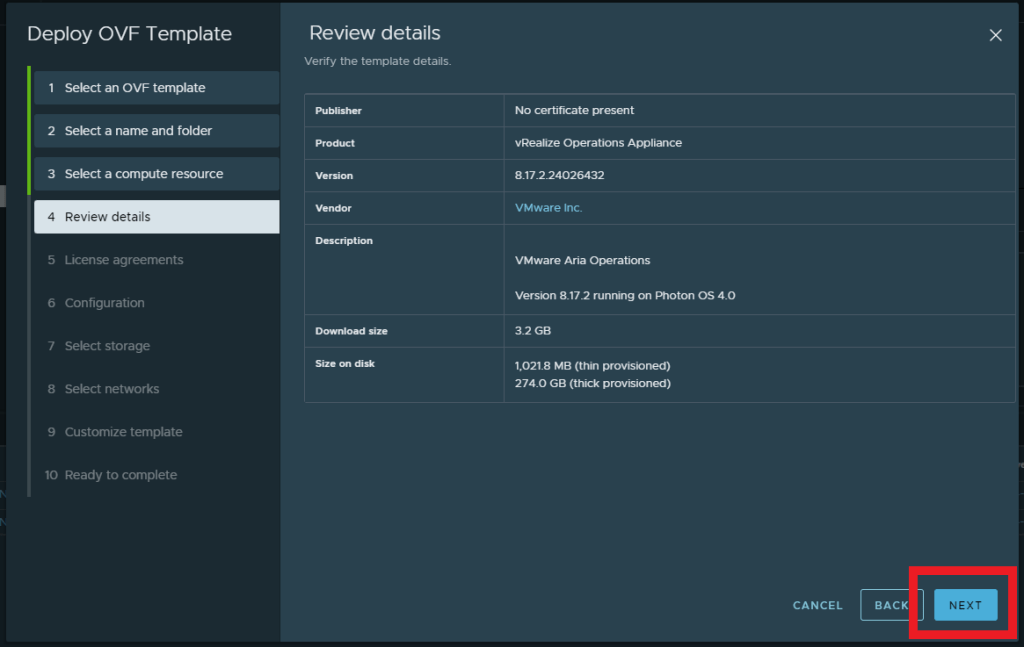
Review the VM details > Click Next
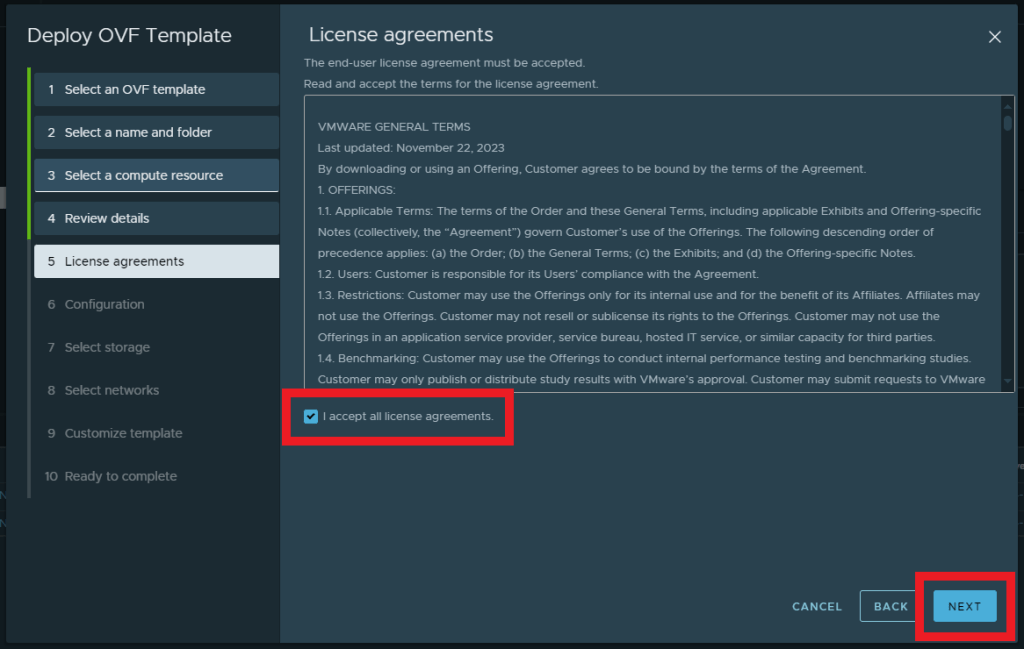
Select the check box to accept the license agreements > Click Next
Select the sizing based on the environment you’ll be using Aria Operations in. In my instance, I’ve selected Medium and there is a description of what the sizing is recommended for > Click Next

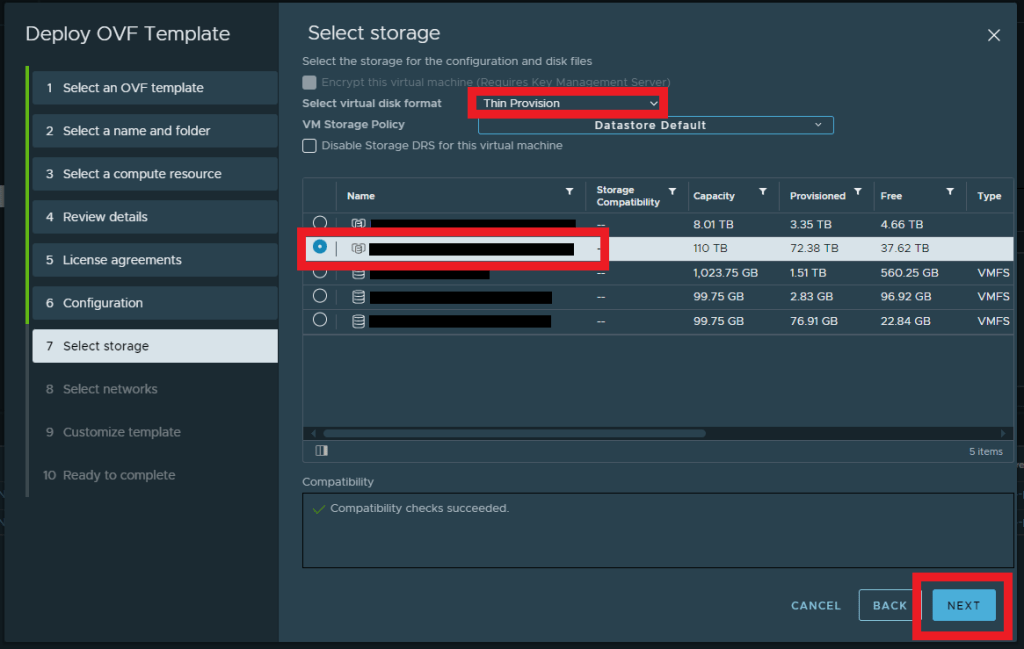
Select the virtual disk format and storage location for your Appliance > Click Next
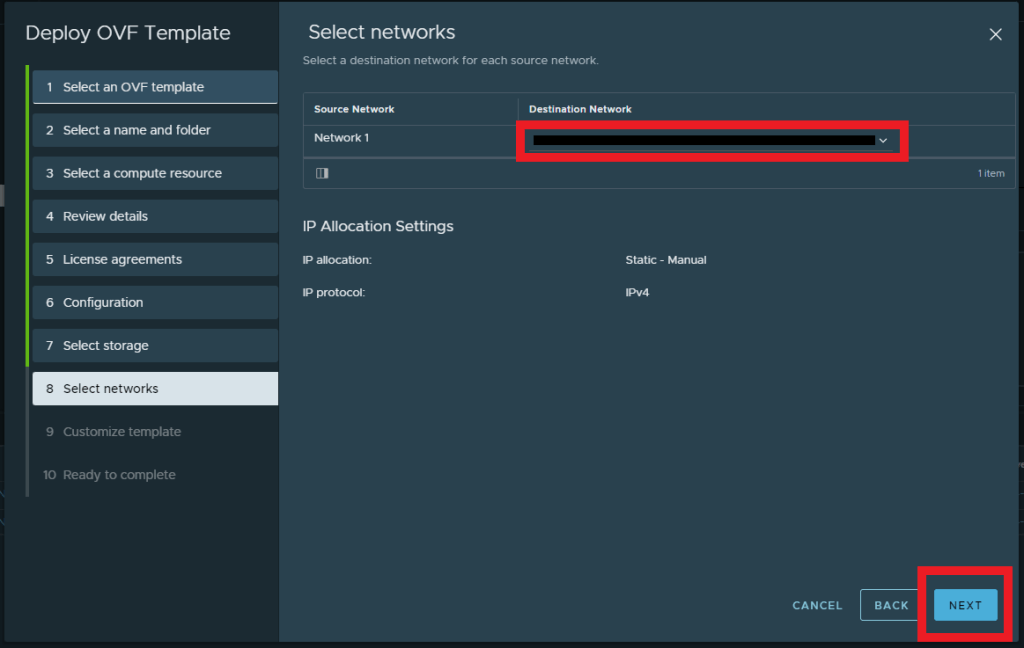
Select the network for your Appliance > Click Next
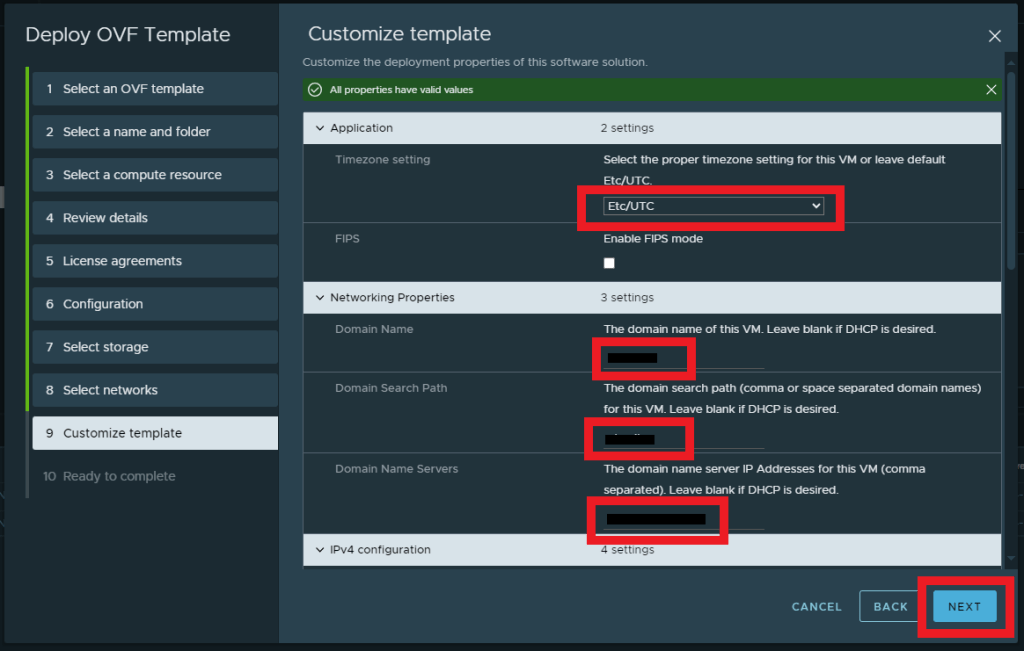
Complete the fields to configure the domain, DNS, IP details etc > Click Next
Check and confirm the configuration > Click Finish

You can the monitor deployment progress in the vSphere Recent Tasks pane

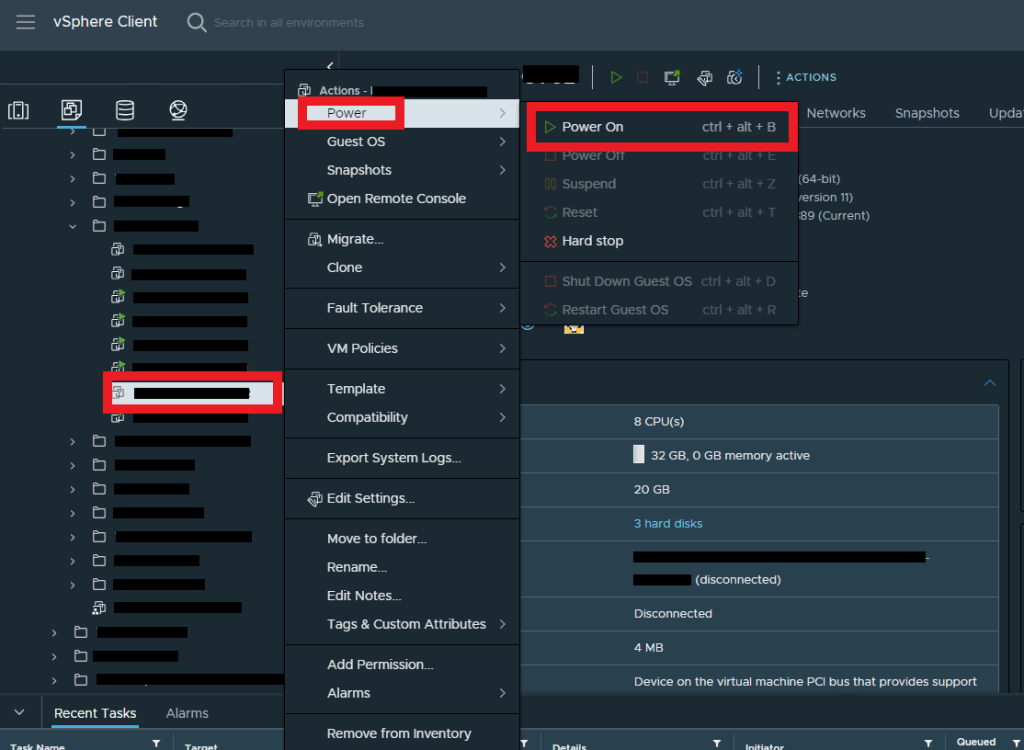
Once the deployment is complete, Power on the VM by right clicking iti n the inventory > Power > Power On
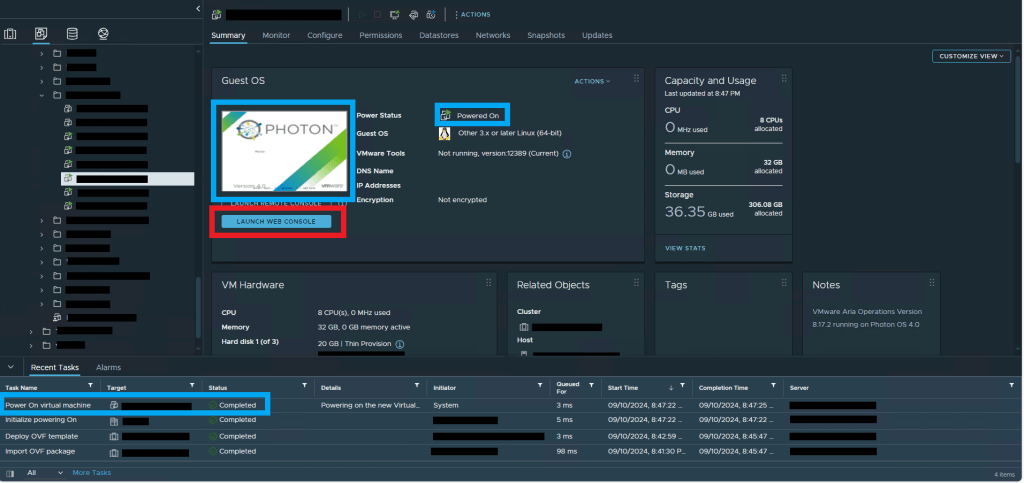
Wait for the Appliance to complete the Power On task by monitoring the console and status details of the VM and once confirmed > Launch the Web Console
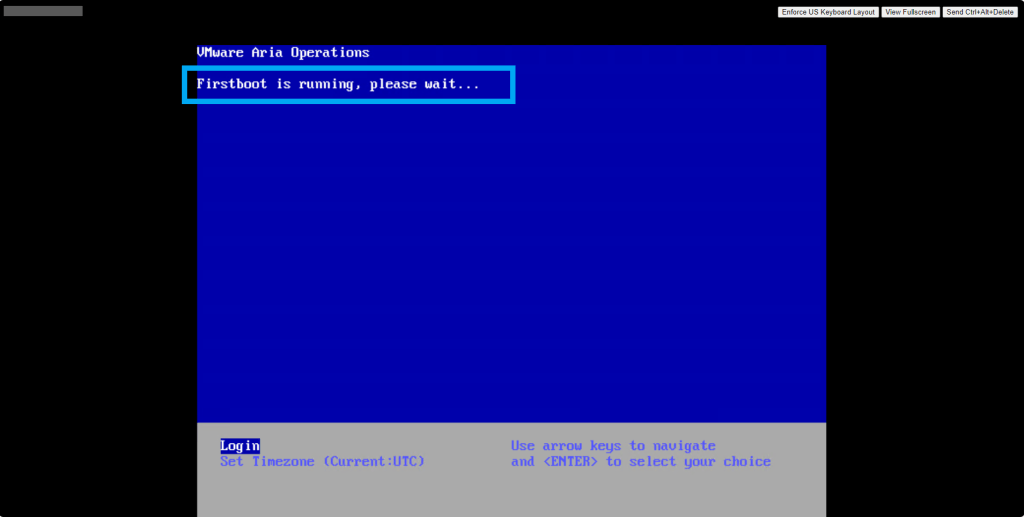
First Boot will be running
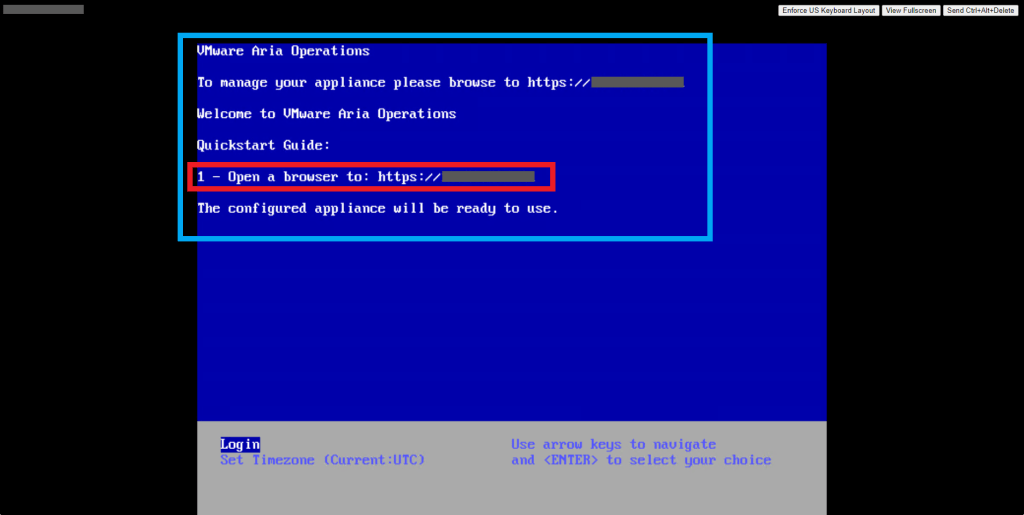
First Boot should complete and now the Node is ready to be added to the existing Aria Operations Cluster. Take note of the address and browse to it using your web browser
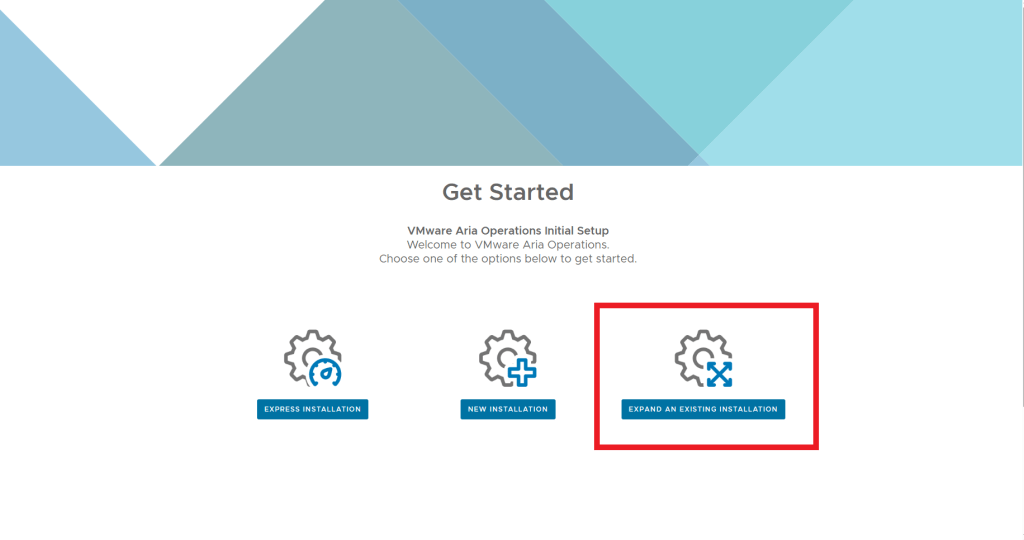
Select Expand an Existing Installation
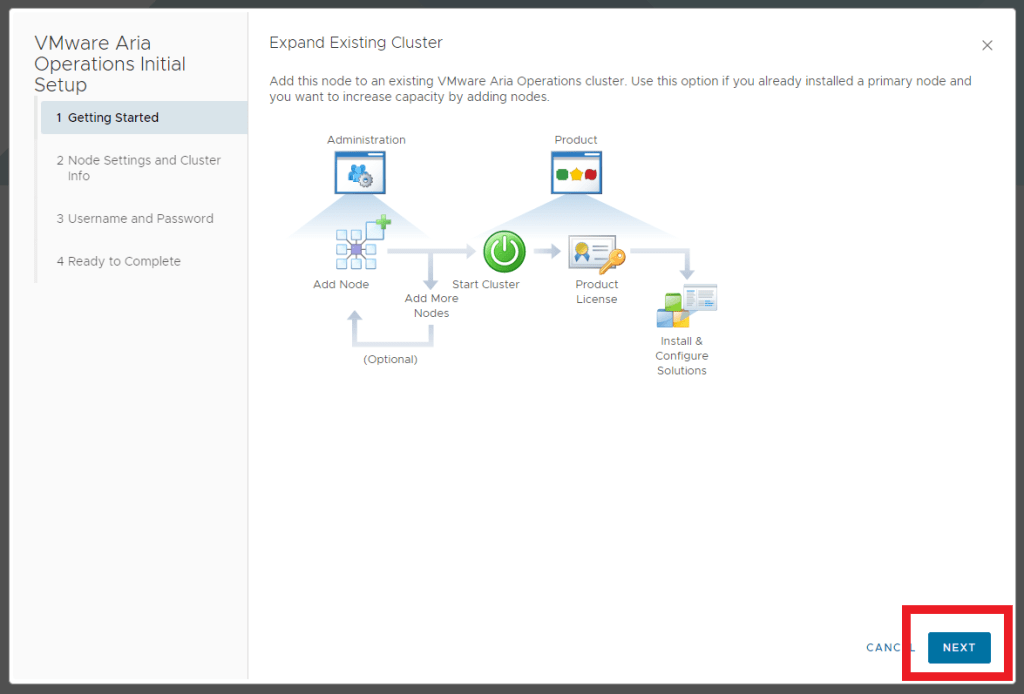
You’ll be presented with some information on expanding an existing cluster > Click Next
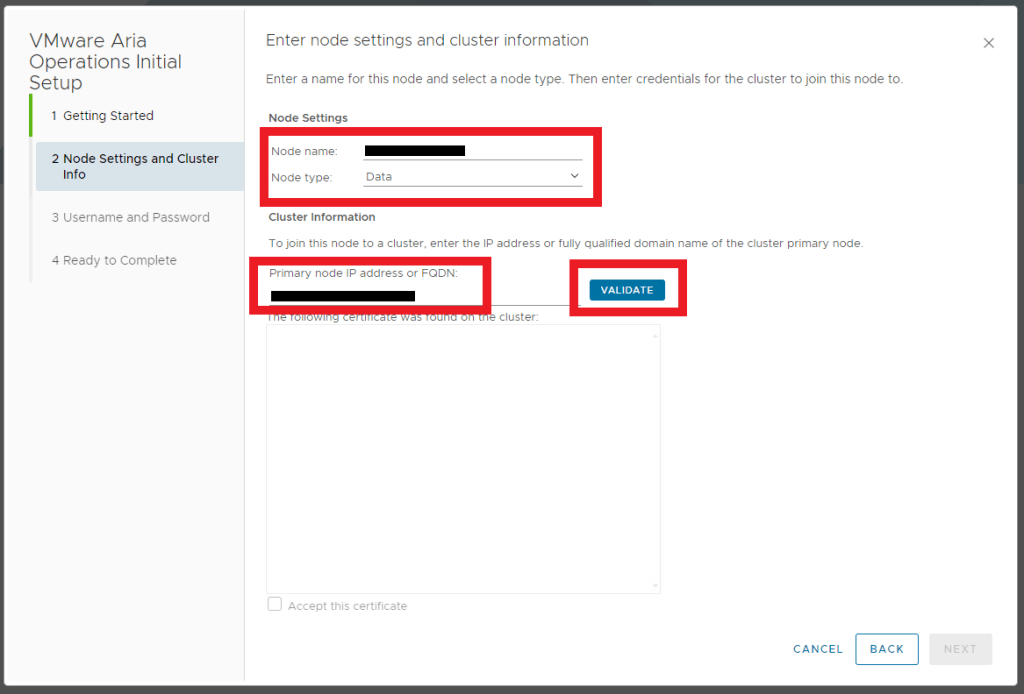
Enter the new Node name > Enter the New Node Type, in this case it’s a Data Node > Enter the Primary Node FQDN of your existing Cluster > Click Validate
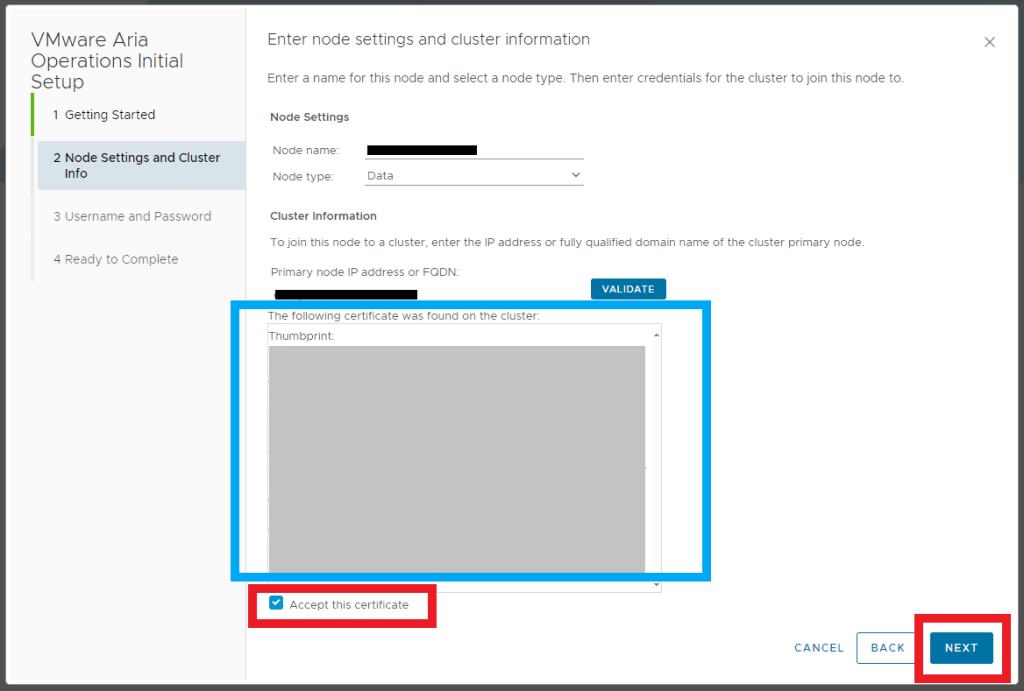
Confirm the certificate is as expected > Check the Accept this certificate box > Click Next
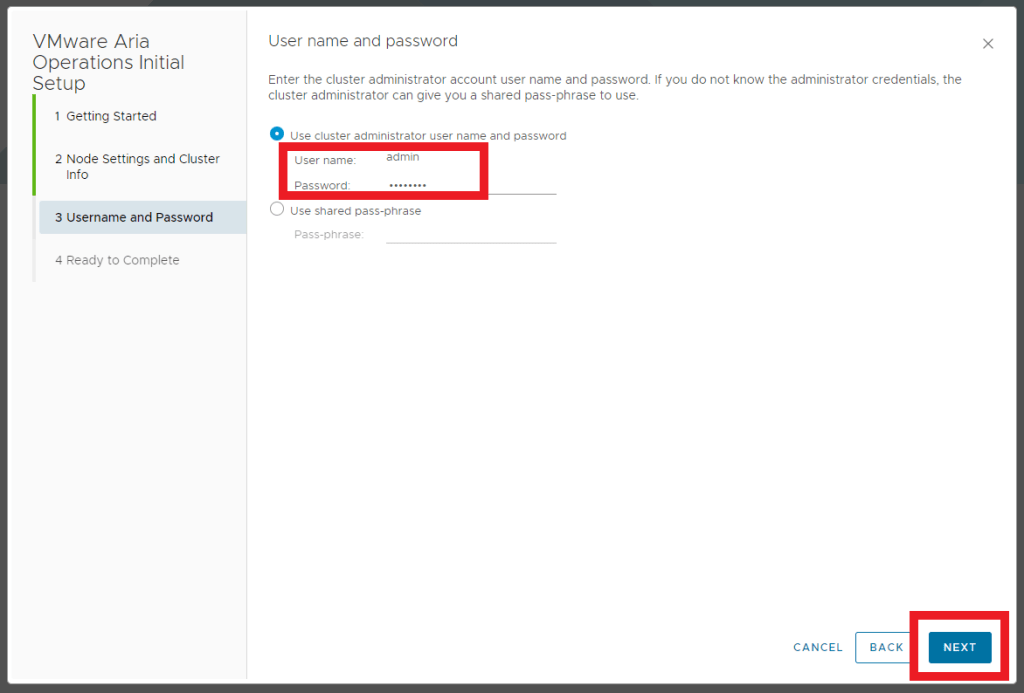
Enter the Cluster administrator account credentials > Click Next
Review the info > Click Finish

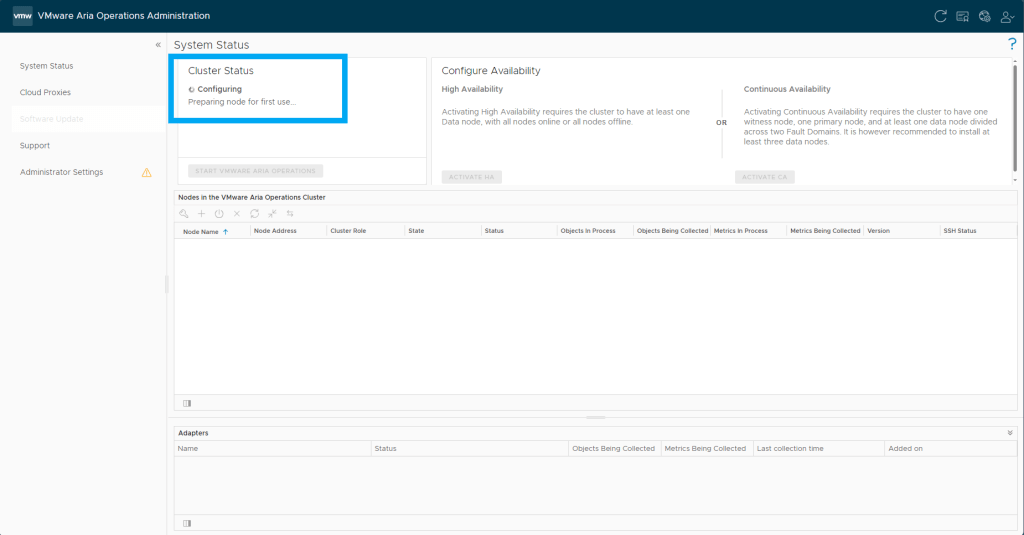
Log in to the admin UI and Monitor the Cluster Status
Once the status goes back to Online (Waiting to finish cluster expansion) and the Nodes are listed again > Click Finish Adding New Node(s)

Click OK
Monitor the Cluster status as it progresses through the expansion and once Complete it will change to Online and the newly added nodes will be in the Online status

