vCenter Enhanced Linked Mode allows you to log in to any single instance of vCenter Server and view and manage the inventories of all the vCenter Server systems in the group.
You can join up to 15 vCenter Server appliance deployments with vCenter Enhanced Linked Mode in a single vSphere Single Sign-On domain. This blog post covers how to join two vCenters running version 7.0 in Enhanced Linked Mode by completing the following tasks:
- Power off, snapshot and power on the vCenter Server Appliances
- Run the Enhanced Linked Mode pre-check
- Run the Enhanced Linked Mode execute commands
- Confirm the vCenter Servers have successfully been configure for Enhanced Linked Mode
Note: Make a note of which ESXi Host your vCenter Server Appliance is currently located on before proceeding
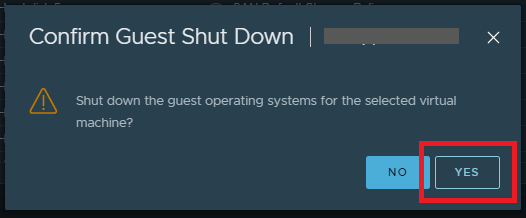
Shut down the vCenter Server Appliance by selecting the appliance in your inventory > Power > Shut Down Guest OS

Select Yes to Confirm Guest Shut Down
Access the ESXi Host Client the vCSA is located by navigating to https://<hostname or IP address>/ui
Select Virtual Machines from the Navigator menu on the left > Right Click the vCenter Server Appliance > Snapshots > Take a snapshot

Give the snapshot a name (and description if required) > Take snapshot

Monitor Recent Tasks > Confirm the snapshot Completed Successfully

With Virtual Machines selected > Select the vCenter Server Appliance > Power on

Repeat the power off, snapshot and power on tasks on the secondary vCenter
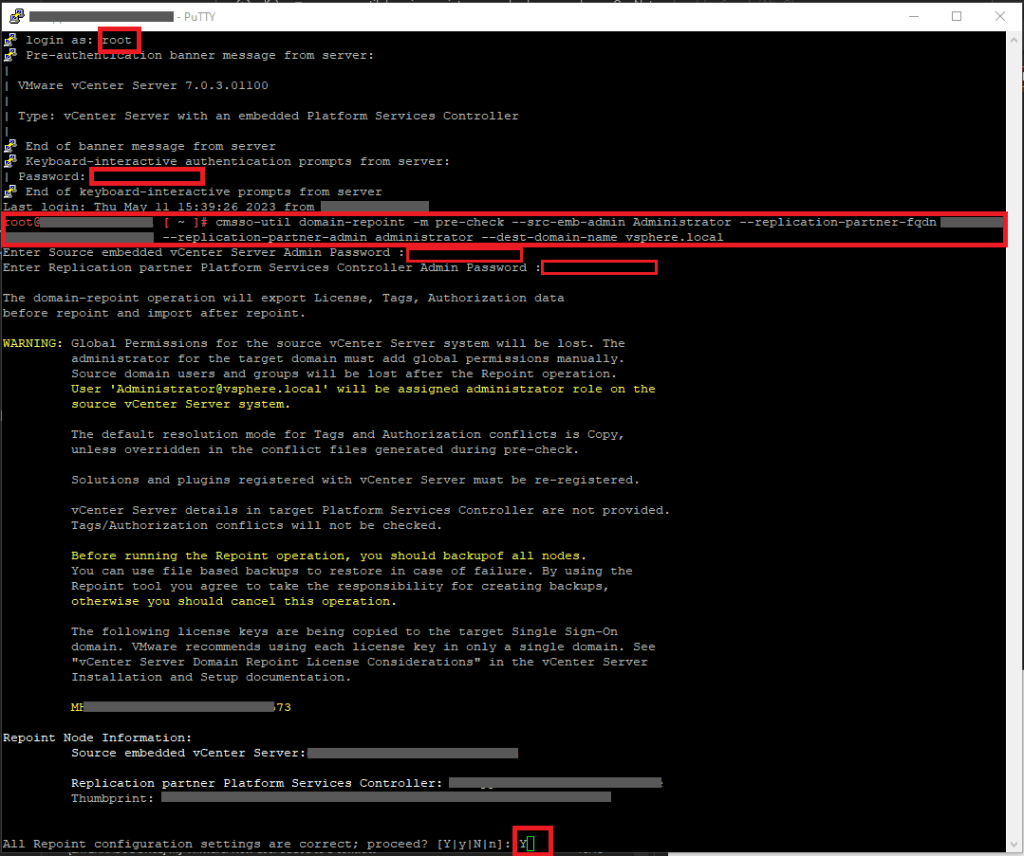
Open an SSH session to your primary vCenter Server Appliance > Log in as root > Enter Password > Enter
Enter the following prompt to run the pre-check
Enter the password for your specified user account for the Primary vCenter > Enter
Enter the password for the Replication Partner > Enter
Confirm the Settings you’ve specified are correct > if you are happy then type Y > Enter
Pre-check will run and if there are no issues, you’ll see the Pre-check successful notification
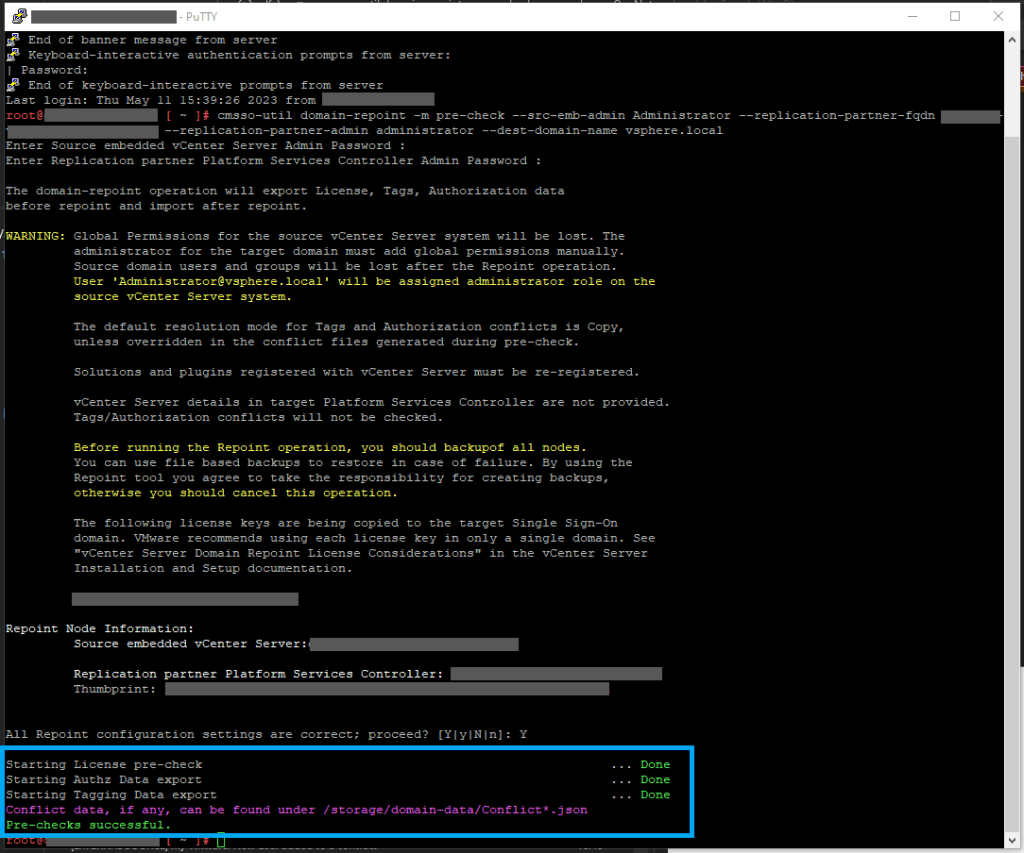
You can navigate the the file path displayed in the Successful notification to view if you have any conflicts also shown here:

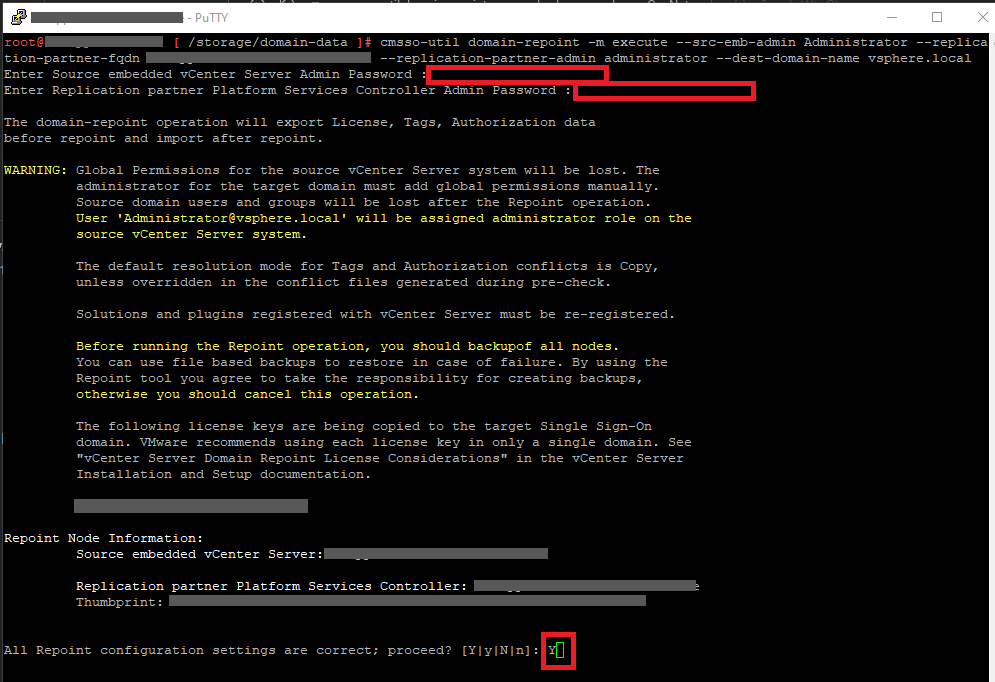
Now the pre-check is complete and if you are happy to proceed, Enter the following command which is almost the same expect changing the pre-check switch to execute

Following the same steps as the pre-check, Enter the password for your specified user account for the Primary vCenter > Enter
Enter the password for the Replication Partner > Enter
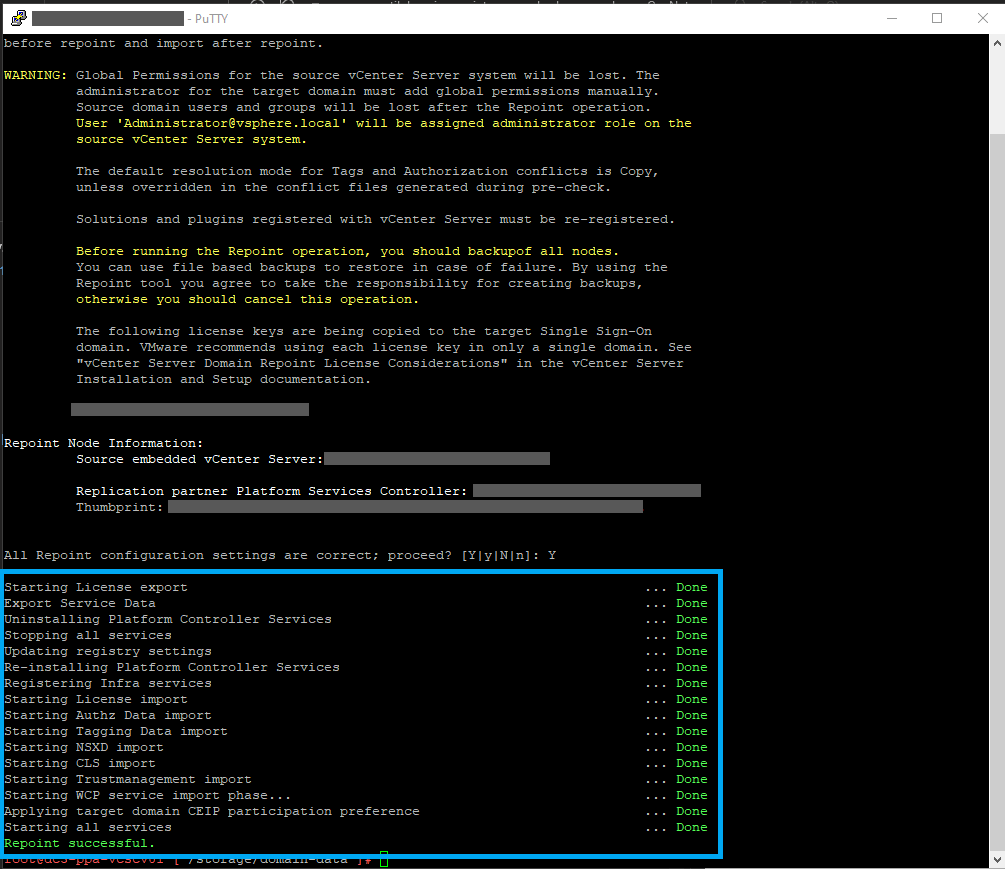
Confirm your configuration settings are correct by typing Y > Enter
The process will being reporting back on each task with a Done notification. Once all tasks are complete, you’ll see the Repoint successful notification
Log in to the vCenter and you’ll now see both vCenters in the Inventory
Select a vCenter > Select the Linked vCenter Server Systems tab> the other vCenter in Enhanced Linked Mode will be show

